

How to Stretch Your Canvas on the Frame
Framing your completed paint by numbers canvas can add a professional touch and transform your artwork into a beautiful display piece. It may seem like a daunting task, but with the right tools and some simple steps, this guide will walk you through the process of stretching your paint by numbers canvas over wooden stretcher bars quickly and easily.
Keypoints before getting started
- Use a clean surface for the stretching process. Make sure you have enough space and light.
- Linen canvases are rougher and harder to stretch than cotton canvases. Using canvas pliers will make the job easier, but it is optional.
- In this article, we refer to stretching the canvas using stretcher bars rather than framing (as in using your custom frame).
- The most popular canvas size in paint by numbers is 40x50cm, which is 16x20" approx.
- Don't worry if the first stretched canvas turns out differently than expected. Practice makes perfect!


Materials you'll need:
- Completed paint by numbers canvas
- Stretcher bars (in the appropriate size for your canvas)
- Staple gun with staples or thumbtacks
- Canvas Pliers (optional)
- Picture hanging hardware
Step 1: Assemble the stretcher bars
Begin by laying the stretcher bars on a flat surface, with the beveled edges facing upward. Slide the corners together, ensuring that they're flush and square. Once all four stretcher bars are connected, gently tap the corners with a hammer to secure them in place.
Step 2: Align the canvas
Place the assembled stretcher bars on top of the backside of your canvas, ensuring that the edges of the canvas and the stretcher bars align perfectly. Make sure the design on the front of the canvas is centered and straight.
Step 3: Staple the canvas to the stretcher bars
Starting with the middle of one side of the stretcher bars, pull the canvas taut and staple it to the bars using your staple gun. Repeat this process for the middle of the opposite side, making sure to keep the canvas tight as you go. Continue working your way out from the center, alternating sides and stapling every 1-2 inches.
Step 4: Fold and staple the corners
When you reach the corners of the canvas, fold one edge over the other, creating a neat and tight 45-degree angle. Hold the folded corner in place and staple it to the stretcher bars. Repeat this process for all four corners.
Step 5: Attach hanging hardware
Finally, attach picture hanging hardware to the back of the stretcher bars. This can include D-ring hangers, sawtooth hangers, or wire. Follow the manufacturer's instructions for attaching the hardware and ensure that it's secure before hanging your framed canvas on the wall.
Conclusion
Framing your paint by numbers canvas is a quick and easy way to showcase your artwork and give it a polished, professional appearance. By following these simple steps, you can have your canvas framed and ready to hang in just 5 minutes. Now you can enjoy your masterpiece and share your artistic achievement with friends and family.
Paint your canvas before or after framing it?
What's best? We have seen this question being asked over and over. There's no better method than the other as it comes down to personal preference, but, in our experience, 90% of the paint-by-numbers users will paint first and frame later.
Framing your canvas before painting:
✅ Pros: you will be able to work on a flat desk or board, providing hand support and making the painting experience more comfortable. Ideal for beginners or older artists that suffer from some motor deficit.
❌ Cons: you may smudge the paint with your hand accidentally. Using an artist's glove is recommended. You will also need a proper setup. A work desk with a 45-degree angle is great to prevent slouching.
Framing your canvas after painting:
✅ Pros: if you have an easel, this is the way to go. It is better for experienced painters with a steady hand. Provides a better artistic experience and makes it easier to visualize the painting coming to life.
❌ Cons: in rare cases, the canvas may lose tension and become saggy due to the wet paint expanding the fibers. You can tighten the canvas once finished and dry using this trick.
Still have questions?
Most common questions about stretching your canvas on a frame


Your Cart
🔥 Buy 2 Kits, Get 1 FREE!
🔥 Buy 4 Kits, Get 2 FREE!
🔥 Buy 6 Kits, Get 3 FREE!
Your cart is currently empty
You might like...
-
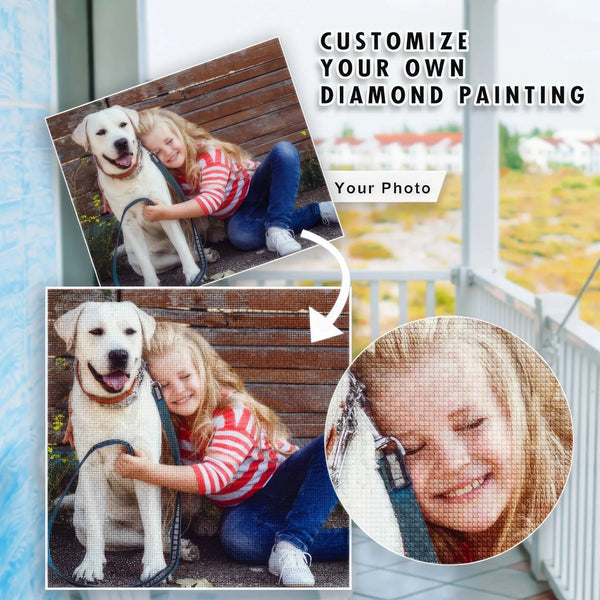
Custom Diamond Painting
$29.95 USD

Search our store
Popular Searches
-
Custom Diamond Painting
$29.95 USD
Your Wishlist
Your wishlist is currently empty